Why do growers in UK decide to start a crop from seeds (vs transplants and clones)?
When starting their crops, growers can opt for one of several options. They can grow them from seeds, transplants, or clones. But what are the advantages and disadvantages of each approach? Here is a quick comparison explaining why many growers find that seeds might be the best way to go.
Starting from Seeds, Clones or Transplants
Seeds vs Transplants
Using transplants or baby plants that someone else has grown can give you a jumpstart in your garden and an earlier harvest.
Seeds, on the other hand, take a bit longer, but they give you more choice in terms of variety. Also, with transplants, you’re limited to local availability, while with seeds, you have a much wider selection through access to shipping. In some cases, you can even order seeds from outside the United Kingdom borders.
Another benefit of using seeds is that it’s much more cost-effective, especially if you plan to grow larger quantities. Transplants are pricey and if you’d like to stay on a budget, buying several packs of seeds is the wiser choice.
In terms of resistance to pests, transplants have the upper hand as they arrive in a more mature stage. However, they can also introduce pests and weeds to your garden, which can damage your crops. In that sense, germinating your own seeds gives you more control.
Seeds vs Clones
Clones are small cuttings from a mother plant. Like transplants, clones give your crops a head start because they come with their own root system. At the same time, clones lack a taproot, which is the biggest and most central root growing out of a plant. Many growers believe that having just secondary roots doesn’t make for a strong plant; therefore, they avoid using clones.

Also, it’s worth noting that clones have a limited shelf life, so you need to use them straight away. That’s not the case with seeds – if properly stored, they can last a long time. Another aspect worth mentioning is gender. Using clones guarantees that your young plant will be female. With seeds, you could receive male plants in the mix, but there are ways to ensure your seeds only contain females—more on that below.
Last but not least, clones carry the exact same flaws as their mother plants. They can introduce diseases to your garden, which can have severe consequences on your crops, so many growers prefer to quarantine new transplants first.
However, there isn’t an easy way out when it comes to genetics. Due to the fact that cloning reproduces the exact same genes over and over, many growers claim that with time, this weakens the plant DNA and produces overall weaker plants.
Starting Seeds Indoors vs. Outdoors
Important question growers ask themselves is whether to grow indoors or outdoors. Of course, each approach has its pros and cons. For example, the most crucial benefit of working outdoors is that it’s cheap and easy, as you use natural resources.
When it comes to seed germination, though, it’s safer to stay indoors due to several reasons. Most importantly, growers can control all environmental factors and closely monitor their plants’ needs and respond to them in a timely manner. Plus, growing times tend to be shorter. That, combined with being independent of climate or natural light, means your seedlings will develop faster, and you can produce harvests year-round.
How to Choose the Right Seeds
Another important question growers ask themselves is how to tell the good seeds from the bad. In other words, which ones will give you a good germination rate and produce the exact plants you were expecting. There are several rules to follow to ensure you’re getting quality seeds. For example, you should avoid seeds that appear pale, green, soft or damaged in any way. Instead, look for tear-drop-shaped seeds with a hard, waxy outer shell, covered in darker stripes or mottling, depending on the variety.
Also, think about gender. You can choose between regular seeds which produce both male and female plants that you need to identify, or pricier, feminized seeds which only produce female plants (with a small chance of hermaphrodite, which self-pollinate). Both regular and feminized seeds can be purchased in the autoflowering variety. Unlike other strains, autoflower plants will automatically begin their flowering cycle when they reach a particular age. This happens regardless of the light schedule, meaning they’re easier to care for, grow faster and help maximize yield.
Needless to say, always source your seeds from a professional seed bank. This will ensure that your plants have been selected and bred for their top-quality genetics. After purchase, make sure seeds are stored in a cool, dark, dry place.
A good way to determine seed health is the float test. Drop your seeds in water for a couple of hours. Seeds that sink to the bottom are ready to germinate, while seeds that float are generally considered unhealthy. Of course, if you operate on a larger scale, the ultimate test would be to simply germinate your seeds and evaluate.
Indoor Seed Growing Supplies
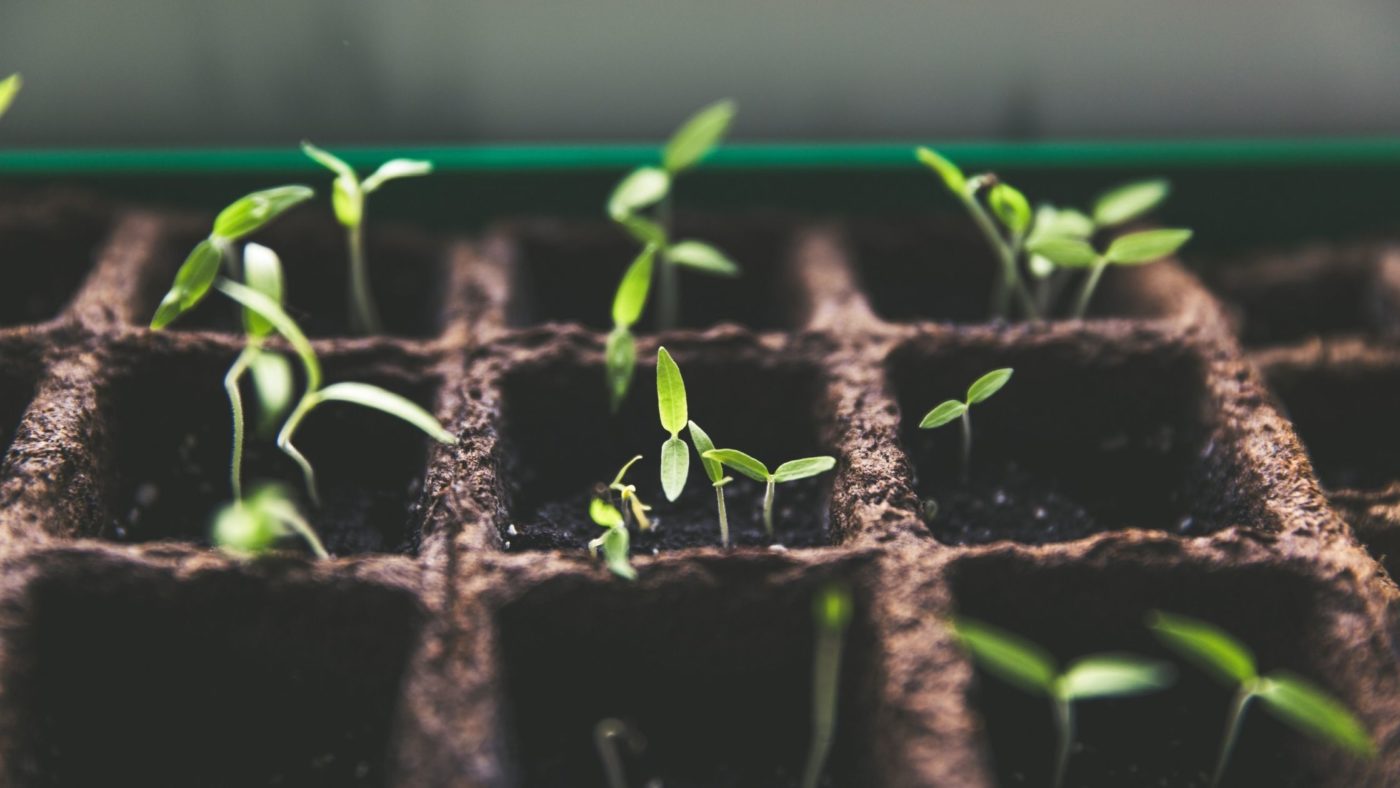
Once you’ve acquired the right seeds, it’s time to germinate them. There are different tools and supplies that will facilitate and speed up the process.
Grow Medium & Trays
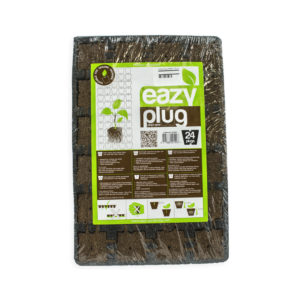
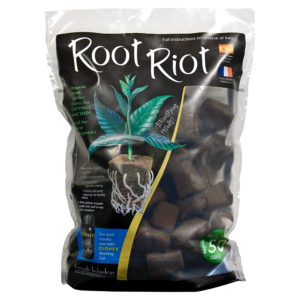
First, you need a good growing medium. Soil is probably the most popular one. Although it comes in different varieties and is quite forgiving in case of excessive nutrition, it can also carry soil-borne diseases or host weeds. That’s why some growers prefer soilless mediums as a means to retain water and air. There are trays with natural rooting sponges and dry organic propagation trays, which are extremely easy to use and provide just the right conditions for seed germination.
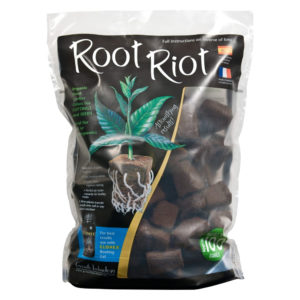
Once you have trays, you can re-use them in the future by only purchasing grow cubes to fill them with. The cubes are organic and packed with essential micronutrients and beneficial rooting fungi. They feature a pre-cut hole in the middle, where you can conveniently place your seeds using clean tweezers. Using clean tools for sowing seeds will prevent contamination with bacteria.
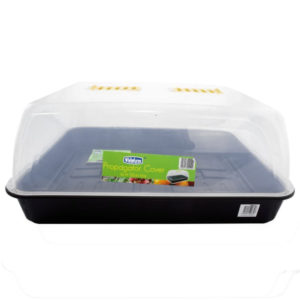
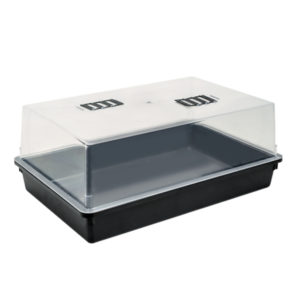
Propagators for Seeding
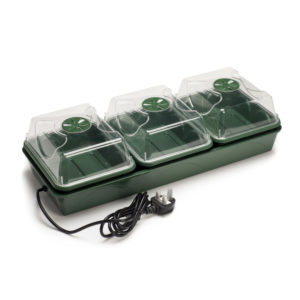
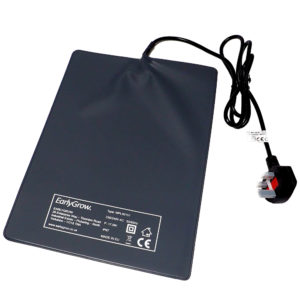
Propagators work wonders in providing the ideal environment for germination, as plants are very sensitive to temperature and humidity levels. You can choose a heated propagator or a classic dome propagator (which you can also combine with a heated mat).
ℹ Propagators provide the ultimate germination environment, so do not skip them.
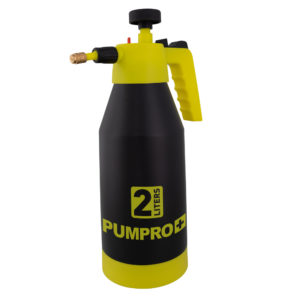
Watering Seeds
Next, you need a dedicated indoor watering container or, even better, a pressure hand sprayer to maintain a moist environment. Look for a container that you can use later on. A quality sprayer with a 360-degree nozzle will come in handy when you need to cover every single leaf with foliar spray.
Grow Space Equipment
In addition to these supplies, you need growing racks and LED grow lights to save space while also ensuring all your seedlings are getting sufficient light. A timer with the respective number of slots will help you automatically adjust your lamps and follow the best light schedule.
Optional Accessories
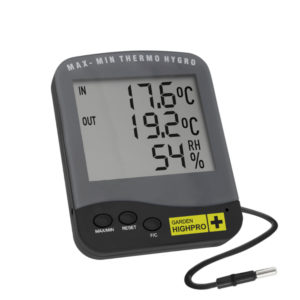
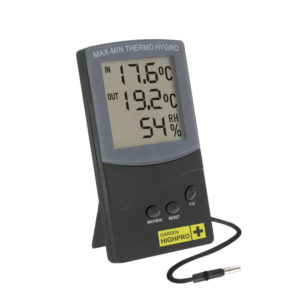
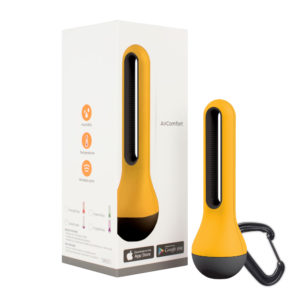
An indoor thermometer is not an absolute must, but it can help a ton with humidity and temperature control. You can opt for a digital thermometer and hygrometer or even a wireless sensor that conveniently connects to your mobile phone.
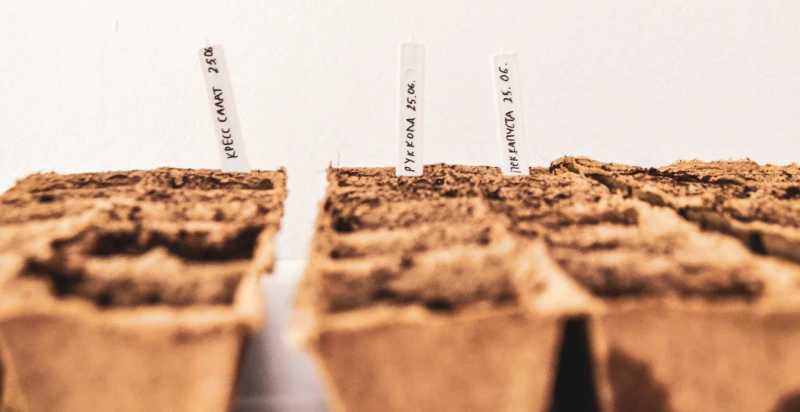
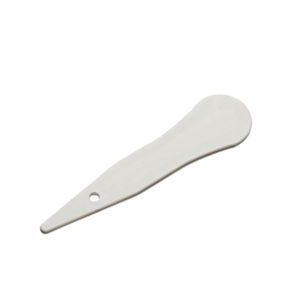
Reusable plant labels are a great way to organize your seeds – from distinguishing different varieties to keeping track of planting dates.
Last but not least, it’s always a good idea to keep a roll of paper towels and some old newspapers around for the occasional quick cleanup.
Seed Growing Steps
When learning how to plant a seed, the steps depend on which approach you prefer. You can go one of two ways – you can either place the seeds directly into cubes, or you can germinate them first and place them into the cubes afterwards.
The latter is more common, and many growers consider it the best way to start seeds at home. It involves soaking the seeds in water for 12 hours, then placing them on a moist paper towel in a container with a lid. Open the lid every few hours to spray with water.
The environment must remain dark, warm, and humid at all times. Once your seeds sprout, you can place them in your grow cubes or sponges. Using a good plant root stimulator 2-3 times during the first week will give a boost to root growth.
What to Feed New Seedlings
When seedlings are just starting to grow, they need just the right amount and type of vitamins, amino acids, and minerals to ensure strong growth.
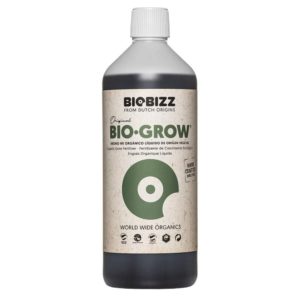
A nutrient-rich organic grow base such as Biobizz Bio-Grow can be used as soon as you see the first leaves. It is made from 100% Dutch sugar beet extract that can be used in most types of soil and substrate mixtures.
Another great helper is Terra Aquatica TriPart® Grow, which provides nitrogen (N), potassium (P), other secondary minerals, and silicic acids to protect against fungal infestation and root rot. You can start feeding it as soon as you plant your germinated seeds in the soil cubes.
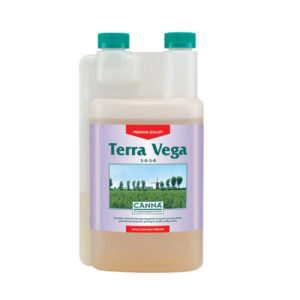
The CANNA Terra Vega Liquid Fertiliser has been specially developed for growing seeds in pots or potting mix. It promotes root development and powerful growth, ultimately leading to higher yield. To help you determine your personal feeding schedule, all products feature detailed feeding instructions to consult prior to starting.

And to make things even easier for beginner growers, there is a rich selection of product packs or starter kits. Combining several products for different growth phases allows beginners to test each brand’s capabilities. Even as plants are about to enter the flowering phase, you can continue to boost their energy absorption with products such as Optic Foliar Watts and Rev. Then, Optic Foliar Switch will reduce male flowers and maximize flower growth, and you can even combine it with the revolutionary Transport wetting agent and get the Optic Foliar Switch 1 L (incl Transport 60 ml) bundle.
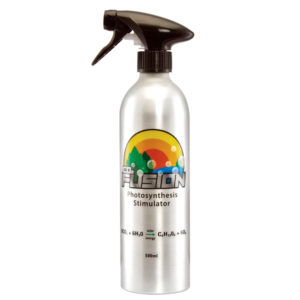
Pro Tip: More advanced growers often use the Co2 Fusion spray on their plants by applying it directly on the leaves. It’s a strong photosynthesis stimulator that boosts rooting and overall growth.
When Are the Seeds Ready for Transplanting?
Plants go through different phases in their growth cycle. These include:
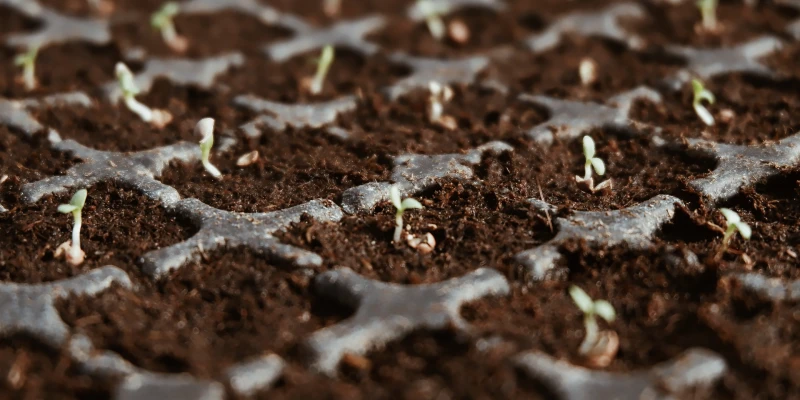
- Germination (typically lasting 3-10 days)
- Seedling (2-3 weeks)
- Vegetative stage (3-16 weeks) – It begins when a plant grows its first set of fan leaves with a complete set of leaflets. It’s characterized by active growth in size, number of stems, leaves, and roots.
- Flowering stage (8-11 weeks) – It’s in the pre-flowering period that precedes it that growers can distinguish male plants from female ones based on the pre-flowers found at the nodes.

The best time to transplant your plants is determined by their condition and the amount of room they have available. They need sufficient space for root development to grow strong and healthy.
That’s why monitoring plant development is a key part of how to grow seeds indoors. If transplanting is delayed too much, plants will become rootbound, meaning their roots will get cramped and tangled, occupying all the available soil. This could have a detrimental effect.
Some signs that indicate a rootbound plant include slow new growth, stem discolouration, excessive need for watering (more than once per day), nutrient deficiency or sensitivity, etc. You may also see roots growing out of the drainage holes at the bottom of your containers.
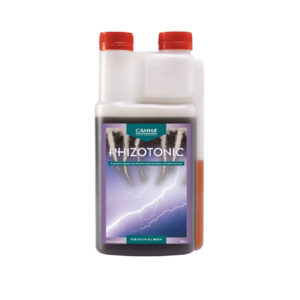
Most plants will go through at least one or sometimes two transplants during their lifetime, depending on the initial container size. Generally speaking, plants are ready to be transplanted for the first time 4-8 weeks after seed germination. You can use CANNA Rhizotonic 1 L to prepare the soil for potting and repotting or as a foliar spray on your seedlings. Note that plants should be in their final pot before entering the flowering stage.
Happy growing!